
Sophie Bright is a creative soul with a passion for resin crafts. She loves experimenting with different techniques and materials, and her articles are filled with innovative ideas and inspiration. Sophie's enthusiasm for resin art is infectious, and she's always eager to share her latest discoveries with the Style Resin community.
Yes, it is absolutely possible to create three-dimensional sculptures using resin! Resin is a versatile medium that can be used to create stunning and intricate 3D resin sculptures. In this guide, I will walk you through the process of creating resin art, highlighting some key resin sculpture techniques, and providing a step-by-step resin art tutorial.
Embarking on Your Resin Art Adventure 🎨
Creating resin art begins with a good understanding of the materials and the process. Polyurethane resin is a popular choice for sculptures due to its durability and ease of use. You'll also need molds for shaping your resin, pigments for coloring, and other tools like stir sticks and a heat gun.
To learn more about the materials needed for resin art, check out our guide on what materials are needed for resin art. This will provide you with a comprehensive list of everything you'll need to get started.
If you're new to resin art and want to know how to create it, our article on what resin art is and how to create it will give you a step-by-step guide on the process.
Mastering the Art of 3D Resin Sculptures 🗿
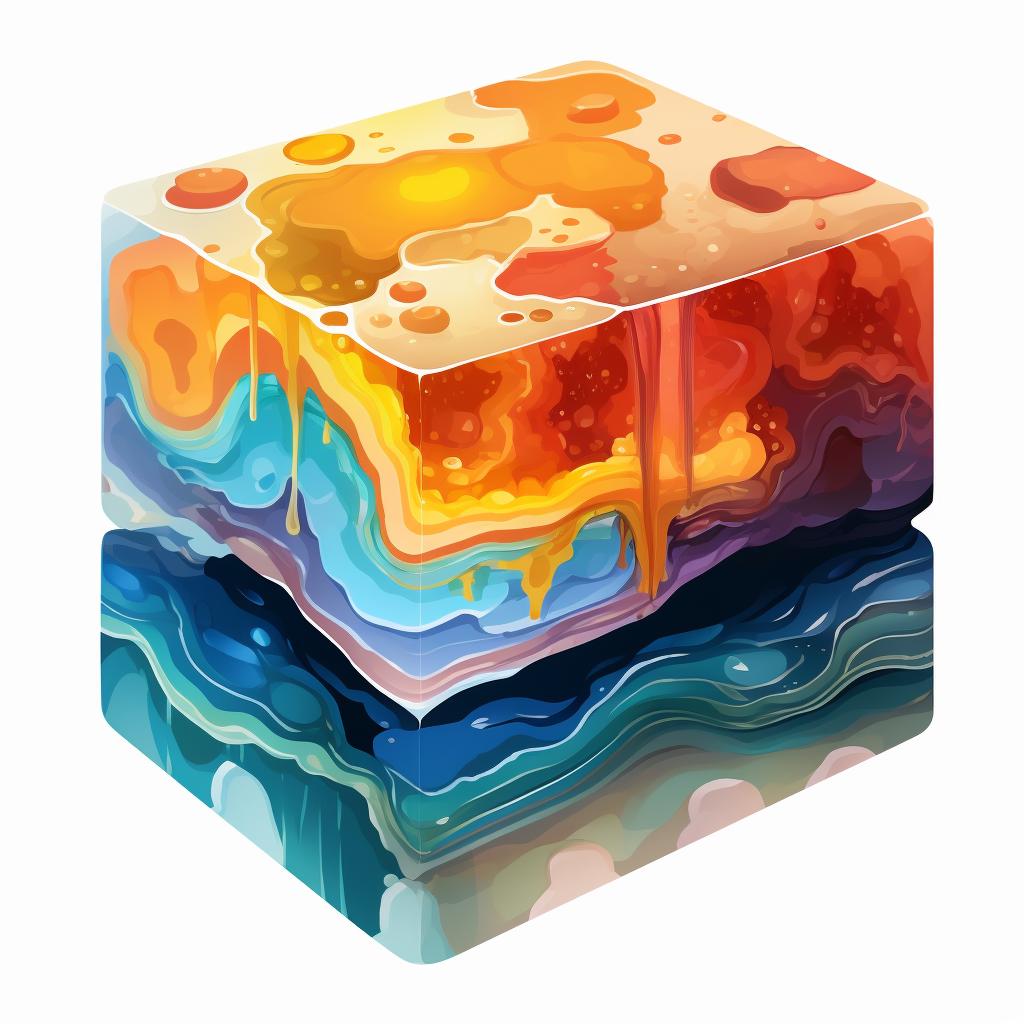
3D resin sculptures can be created through casting, layering, or a combination of both. Casting involves pouring resin into a mold, while layering involves pouring resin in stages, allowing each layer to cure before adding the next.
Now that we've covered the basics of resin sculpture techniques, let's dive into the exciting process of creating a layered resin sculpture. Follow these steps to create your own masterpiece:
Mastering the Art of Layered Resin Sculpture
Step 1: Gather Your Materials
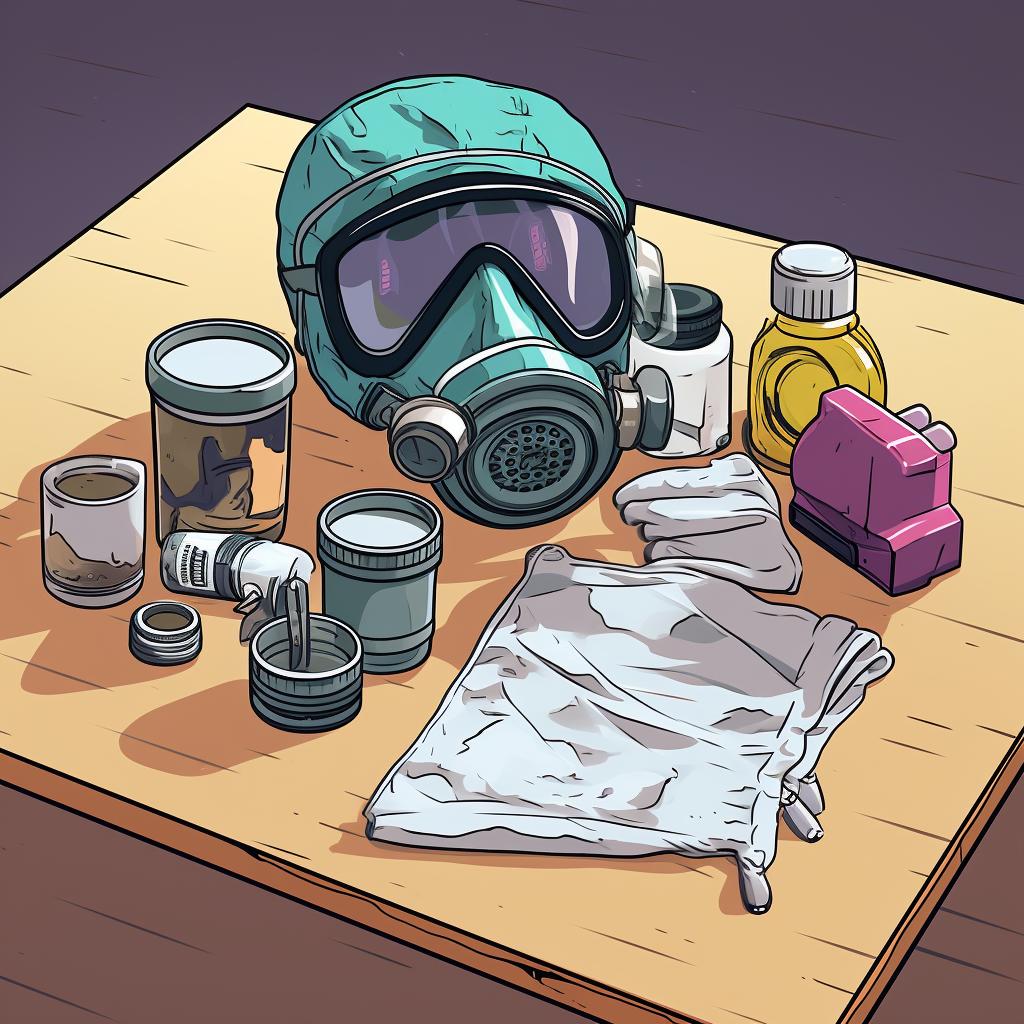
Start by gathering all the necessary materials. You'll need resin, hardener, a mixing cup, stir stick, pigments or dyes of your choice, and a mold for your sculpture. Safety gear like gloves and a respirator mask are also crucial.
Step 2: Prepare Your Resin
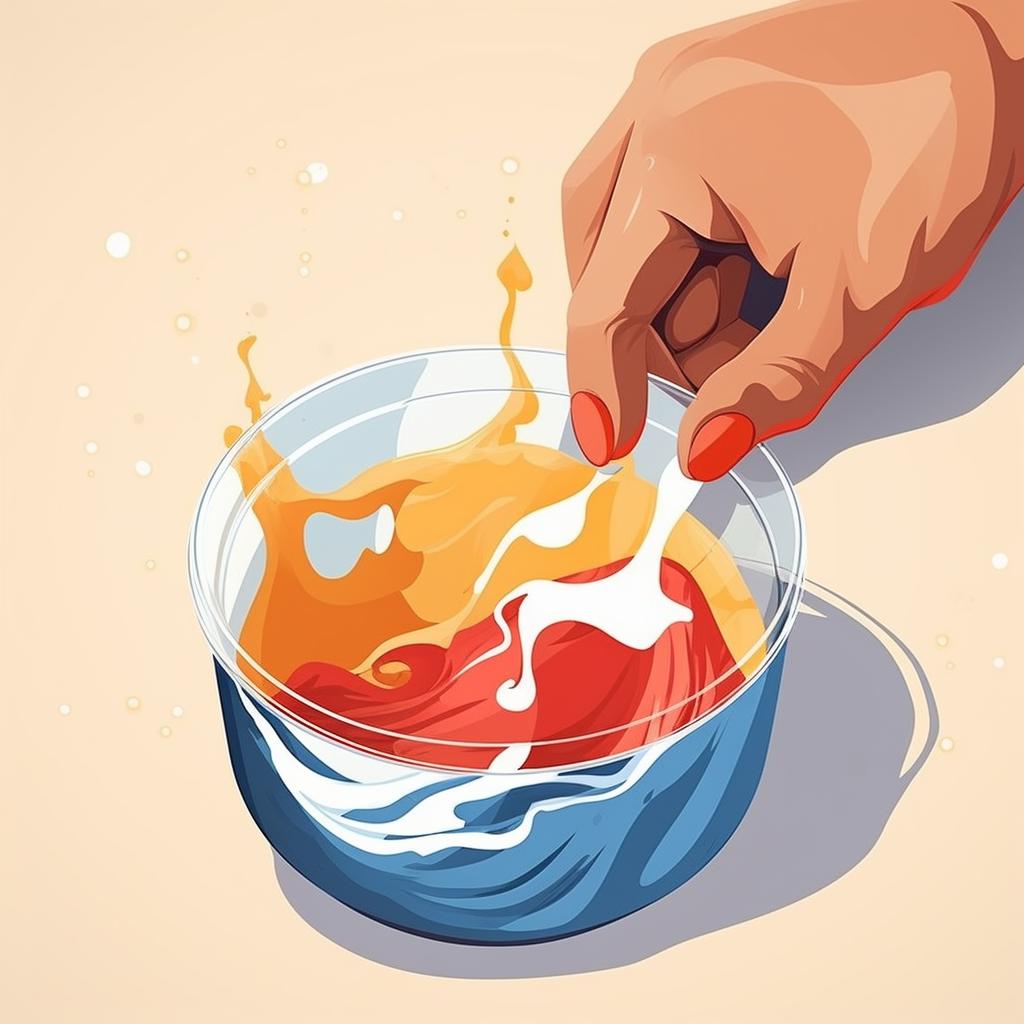
Mix the resin and hardener in the mixing cup according to the manufacturer's instructions. Stir slowly to avoid introducing bubbles. Once mixed, add your chosen pigment or dye and stir until well combined.
Step 3: Pour the First Layer
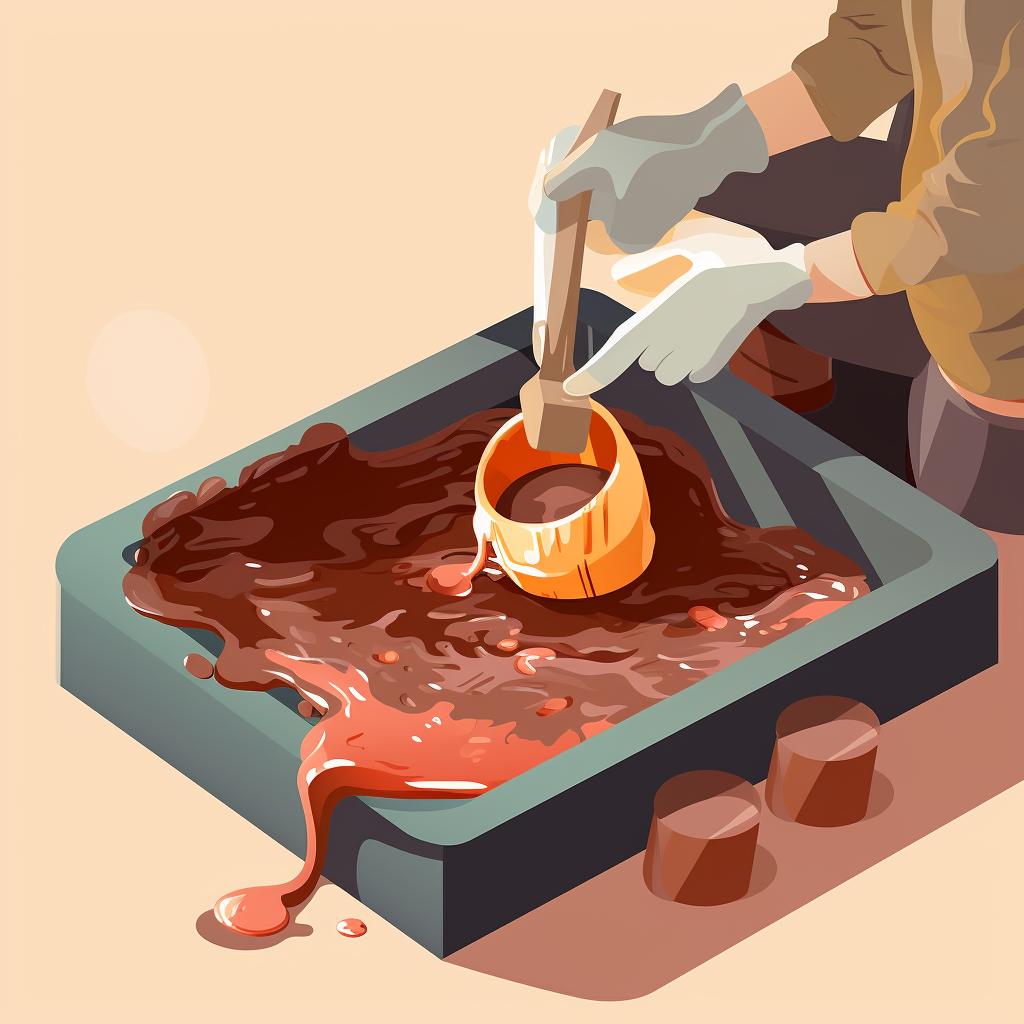
Pour a thin layer of the colored resin into your mold. Use your stir stick to spread it evenly across the bottom of the mold. Allow this layer to partially cure according to the resin manufacturer's instructions.
Step 4: Add Additional Layers
Once the first layer has partially cured, repeat the process to add more layers. You can use different colors for each layer to create a multi-colored effect. Remember to let each layer partially cure before adding the next.

Step 5: Let It Cure
After you've added all your layers, let the sculpture fully cure. The curing time will depend on the type of resin you're using, so be sure to check the manufacturer's instructions. Once fully cured, gently remove the sculpture from the mold.
Learn more about 🎨 Mastering the Art of Layered Resin Sculpture 🌈 or discover other Style Resin guides.
And voila! You've just created a beautiful, layered resin sculpture. Remember, the beauty of layering lies in the unique effects it can create, so don't be afraid to experiment with different colors and additives. Happy crafting!
Each technique has its own unique effects. Casting can create solid, uniform pieces, while layering can result in beautiful, multi-dimensional effects.
Your First DIY Resin Artwork: A Step-by-Step Guide 🖌️
Ready to start your own resin artwork? Here's a brief tutorial to get you started:
Before you dive into the exciting world of resin art, let's make sure you have all the necessary materials at hand. Here's a handy checklist to guide you:
With these materials ready, you're all set to start creating your resin sculpture. Remember, preparation is key to a smooth and enjoyable resin art process.
Step 1: Prepare your workspace and gather your materials. Make sure your workspace is well-ventilated and protected from spills.
Step 2: Mix your resin and hardener according to the manufacturer's instructions. Stir slowly to avoid creating bubbles.
Step 3: Add your pigments and mix thoroughly. You can create different colors in separate cups.
Step 4: Pour your resin into your mold. If you're layering, allow each layer to partially cure before adding the next.
Step 5: Use a heat gun to pop any bubbles and help the resin spread evenly.
Step 6: Leave your sculpture to cure fully. This can take anywhere from 24 hours to a few days depending on the resin and the thickness of the sculpture.
For more detailed instructions on how to mix and pour resin, check out our step-by-step guide on mastering the art of mixing and pouring resin.
If you're interested in creating resin molds, our step-by-step guide on mastering resin mold preparation will provide you with all the information you need.
And if you're looking to create resin jewelry, our step-by-step guide on your journey into resin jewelry creation is a great resource to get started.
Now that you're familiar with the basic steps, let's dive into a more detailed process. Here's a video tutorial that will guide you through the process of creating a 3D resin sculpture.
Now that you've watched the video, you're ready to start your resin art journey. Remember, it's all about experimenting and having fun. In the next section, we'll explore how you can further enhance your skills and knowledge in resin sculpture.
What's Next? Expanding Your Resin Artistry 🌌
Once you've mastered the basics, the sky's the limit! You can experiment with different molds, pigments, and additives to create truly unique pieces.
Resin Sculpture Techniques Quiz
Test your knowledge on resin sculpture techniques
Learn more about 🔍 Resin Sculpture Techniques Quiz or discover other Style Resin quizzes.
Creating resin art is a journey, not a destination. Embrace the process, learn from your mistakes, and most importantly, have fun!
Remember, safety is paramount when working with resin. Always work in a well-ventilated area, wear protective gear, and follow all safety instructions on your resin and other materials.
I hope this guide has inspired you to try your hand at creating your own 3D resin sculptures. Happy crafting!
For more information on safely doing resin art at home, check out our guide.
If you're looking for a step-by-step guide on creating your first masterpiece, take a look at our guide.
Interested in creating resin art in your bedroom? Our guide can help you get started.


People also asked


All Rights Reserved © 2025