Learn more

Cleaning resin art brushes is an essential part of maintaining their quality and ensuring they are ready for your next project. In this step-by-step guide, we will walk you through the process of cleaning resin art brushes effectively.
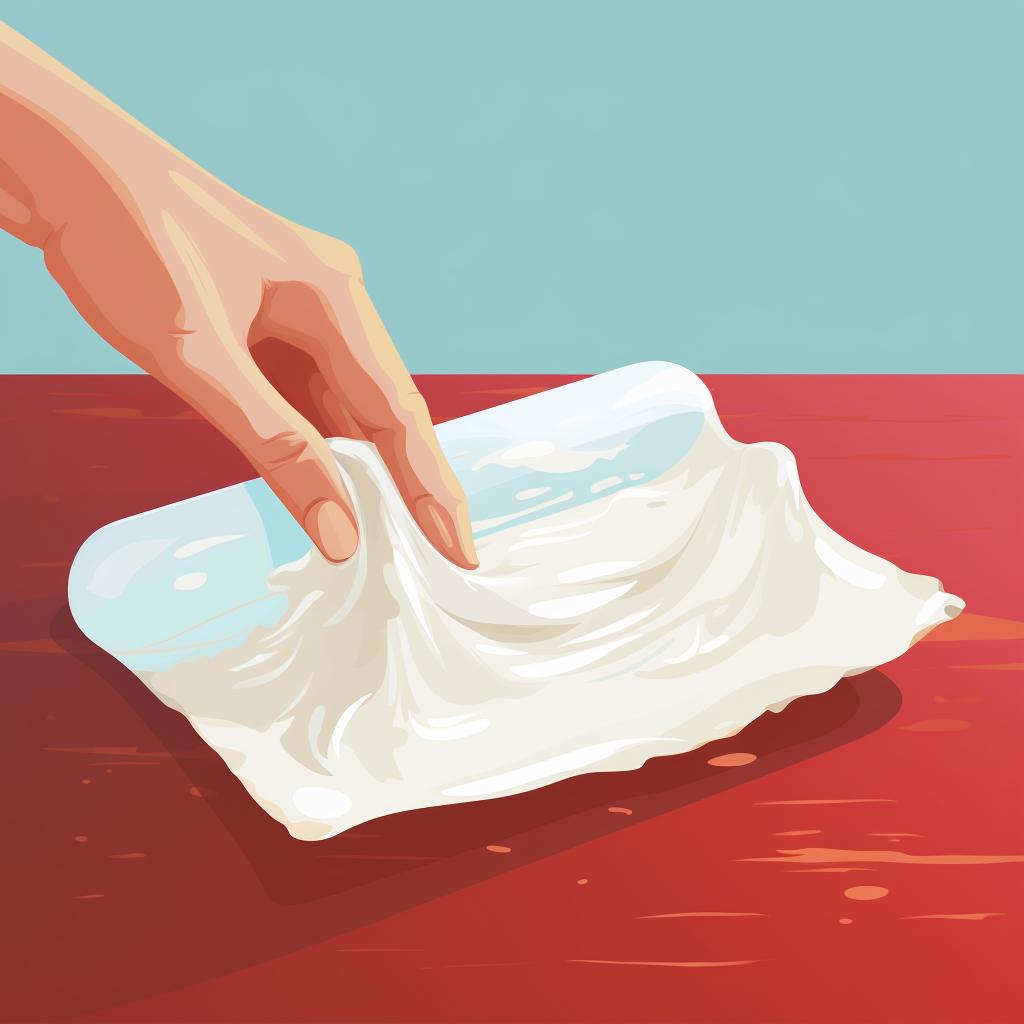
Step 1: Wipe Off Excess Resin
Start by using a paper towel to wipe off as much resin as you can from the brush. This initial step will make the cleaning process easier and more effective.
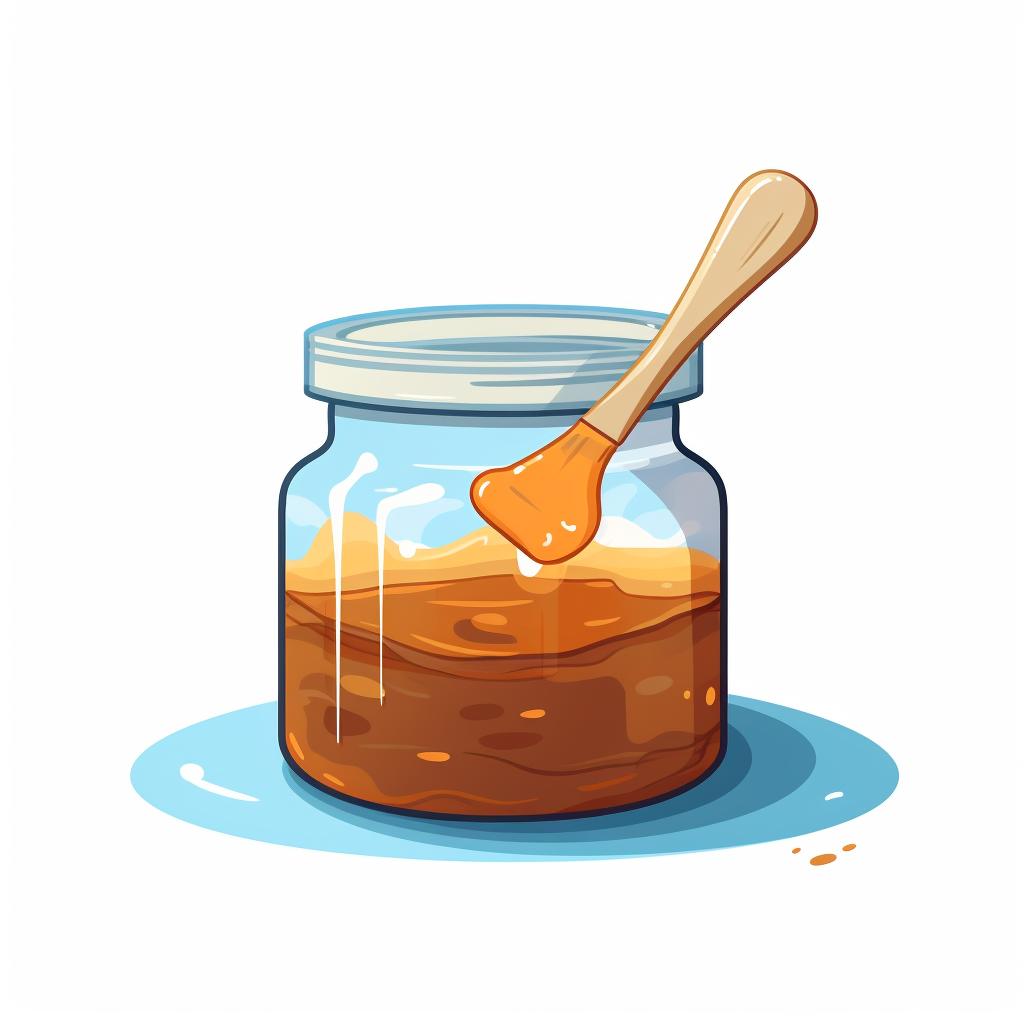
Step 2: Soak in Vinegar
Next, soak your brush in vinegar. The acidity of the vinegar will help break down the resin. It is important to note that you should not leave the brush to soak for too long, as prolonged exposure can damage the bristles. An hour is usually sufficient.
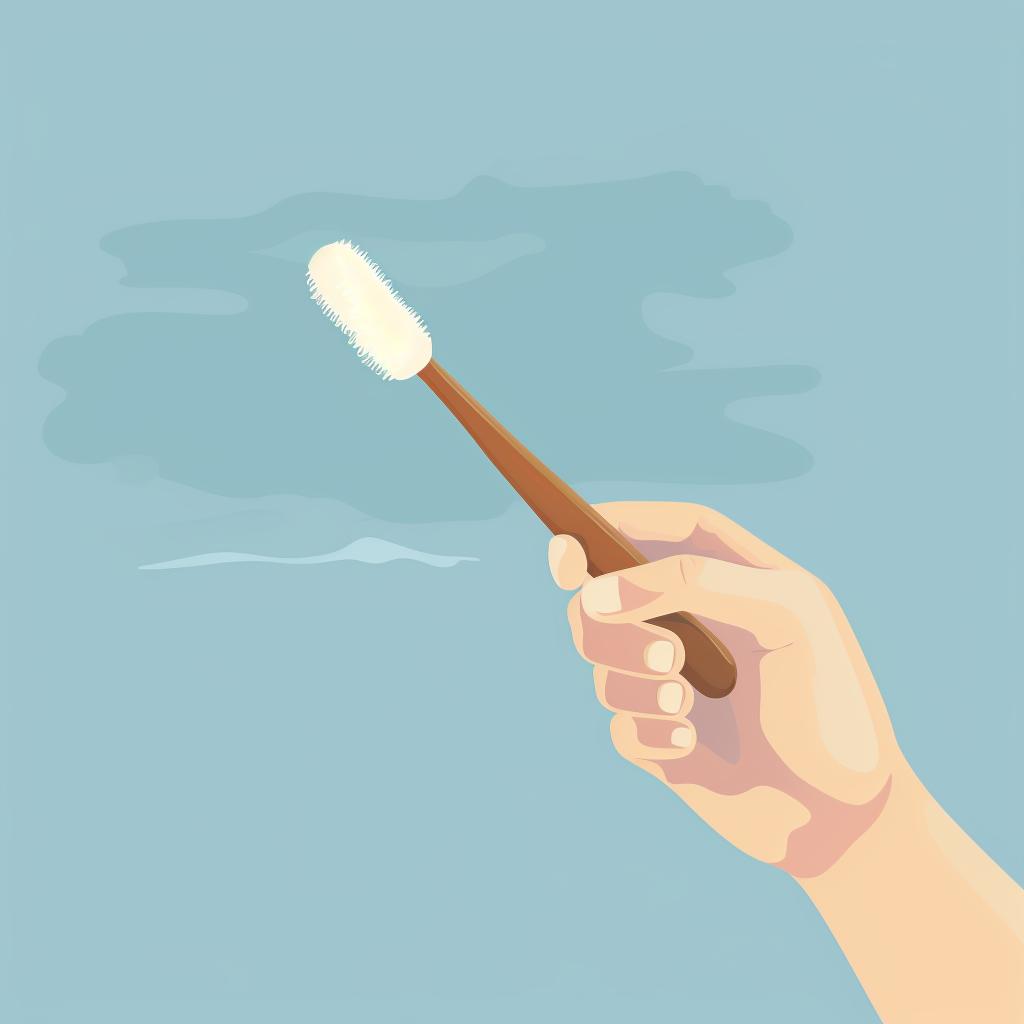
Step 3: Scrub with Toothbrush
After soaking, take an old toothbrush and gently scrub the bristles of your brush. This will help remove any resin that is still stuck. Be careful not to apply too much pressure, as it may damage the bristles.
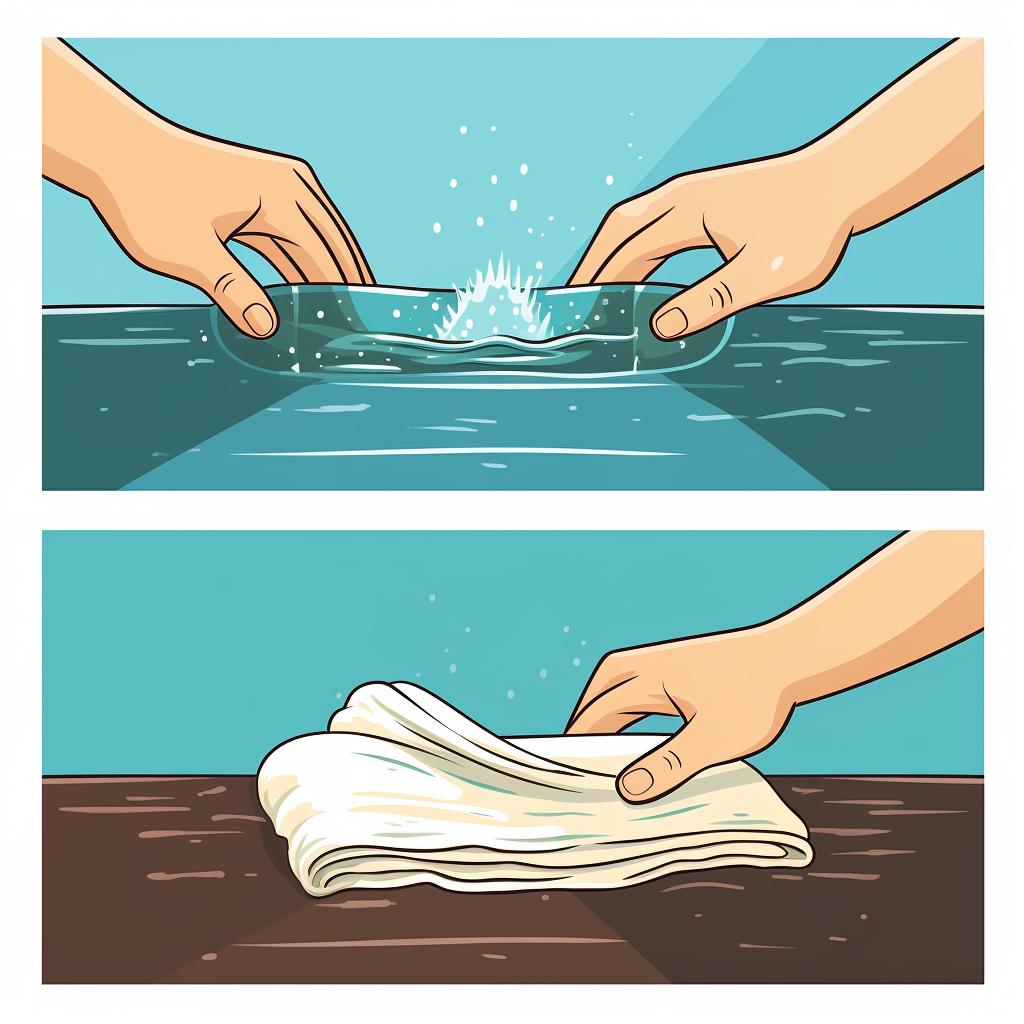
Step 4: Rinse and Dry
Rinse the brush thoroughly under warm water, ensuring that all the vinegar and resin are washed away. Once rinsed, pat dry with a clean towel. It is essential to remove all excess moisture to prevent any mold or mildew from forming.
Step 5: Store Properly
Finally, store your brushes with the bristles facing upwards. This prevents them from bending or getting damaged, ensuring they are ready for your next resin art project. You can use a container or a brush holder to keep them organized and protected.
By following these simple steps, you can keep your resin art brushes clean and in excellent condition. Regular cleaning will not only prolong their lifespan but also ensure optimal performance in your resin art projects.
Remember, taking care of your tools is just as important as the art itself. So, make sure to incorporate this cleaning routine into your resin art practice. Happy creating!
For more tips and tricks on resin art, resin molds, and other related crafts, visit Style Resin - your ultimate guide to everything about resin. Explore our website to discover a world of inspiration and knowledge for all your resin art endeavors.
All Rights Reserved © 2025


