Learn more


Unleashing Your Inner Artist: Your First Resin Painting
Are you ready to dive into the world of resin art? Creating your first resin painting can be an exciting and rewarding experience. With a few simple steps, you can unleash your inner artist and create a stunning piece of art that showcases your creativity. Let's get started!
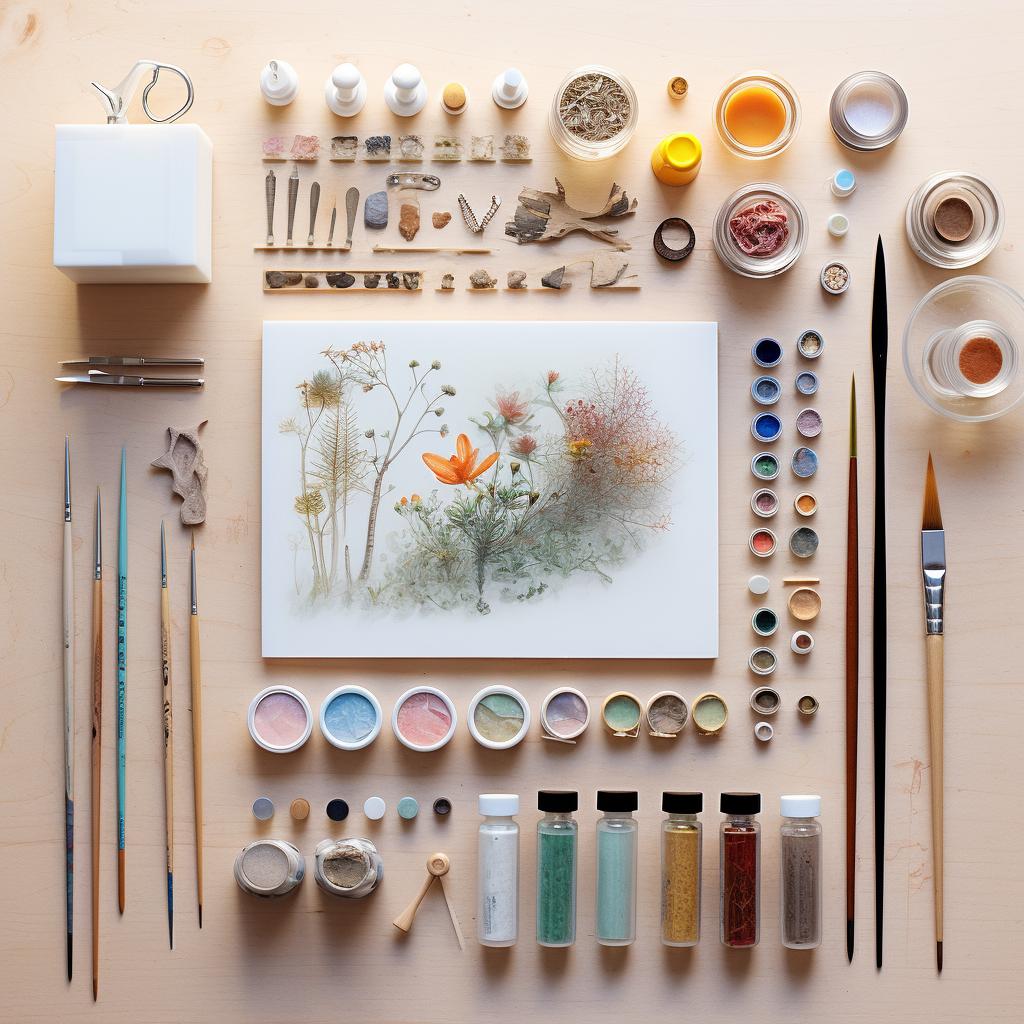
Step 1: Gather Your Materials
To begin your resin painting journey, you'll need a few essential materials. Make sure you have epoxy resin, hardener, mixing cups, stir sticks, pigments or dyes of your choice, a canvas, a heat gun, and safety gear such as gloves, goggles, and a respirator. Having everything ready will ensure a smooth and enjoyable process.
Step 2: Prepare Your Workspace
Creating art requires a clean and well-prepared workspace. Before you start, make sure your area is free of dust and well-ventilated. Cover your work surface with a plastic sheet to protect it from any resin spills. This will help you maintain a clean and organized workspace throughout the process.
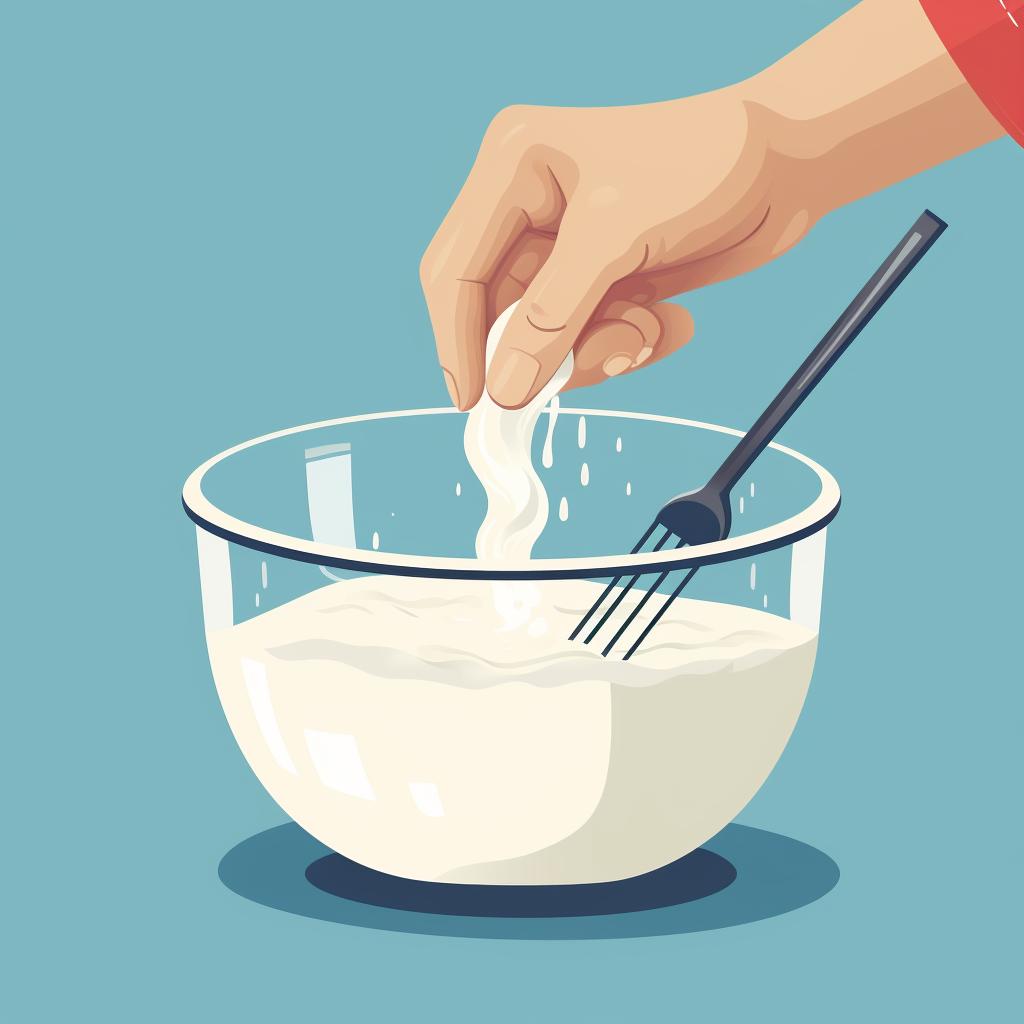
Step 3: Mix the Resin and Hardener
Follow the manufacturer's instructions to mix the epoxy resin and hardener in a mixing cup. Take your time and stir slowly to avoid creating bubbles. Bubbles can affect the final result of your painting, so be patient and ensure a smooth mixture.
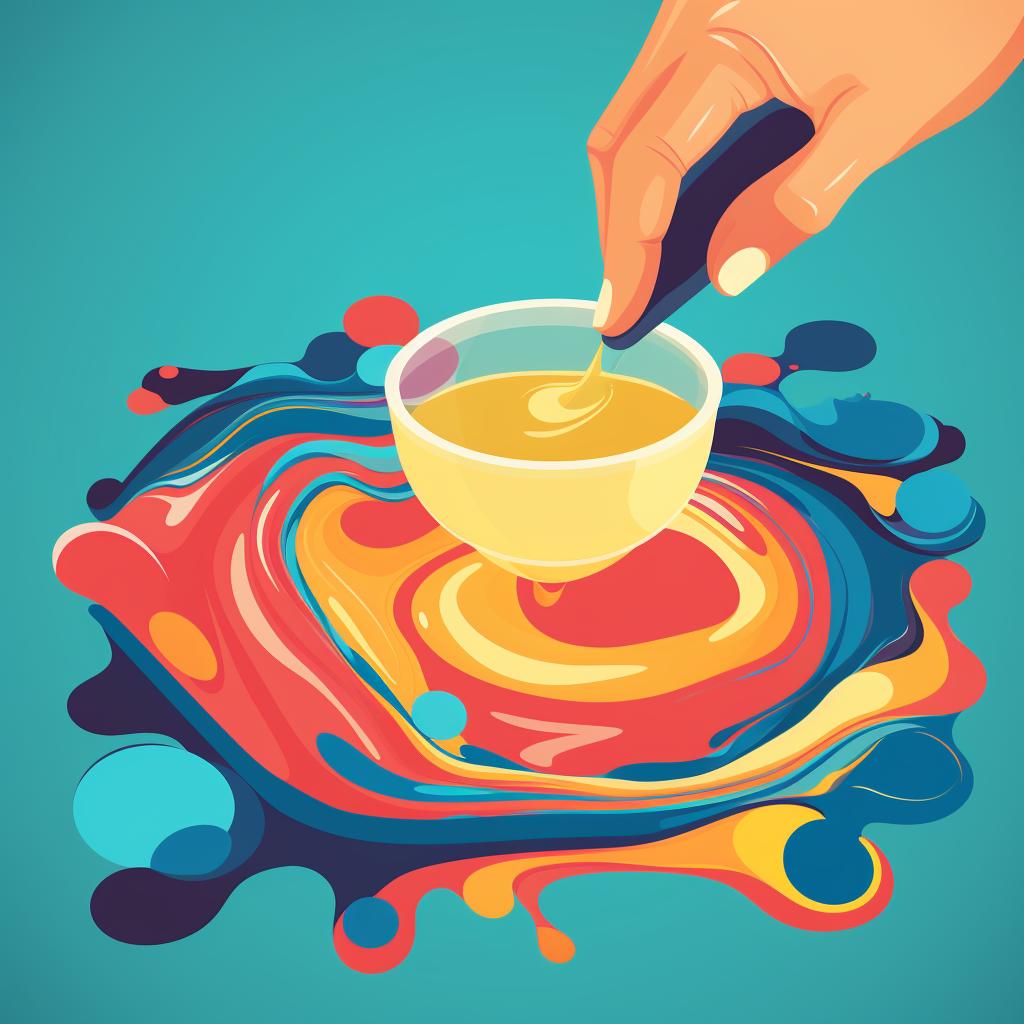
Step 4: Add Your Colors
Now it's time to add some color to your resin mixture. Divide the mixed resin into smaller cups and add your chosen pigments or dyes. Stir thoroughly until the color is evenly distributed. This is where your creativity can shine! Experiment with different color combinations and create unique effects.
Step 5: Pour the Resin onto the Canvas
Once you're satisfied with your colored resin, it's time to pour it onto the canvas. You have the freedom to pour the resin in any pattern or design you like. Let your imagination run wild and create mesmerizing patterns or abstract designs. The possibilities are endless!
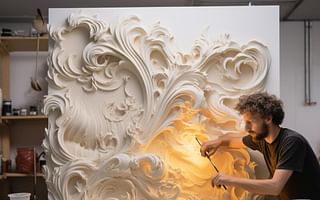
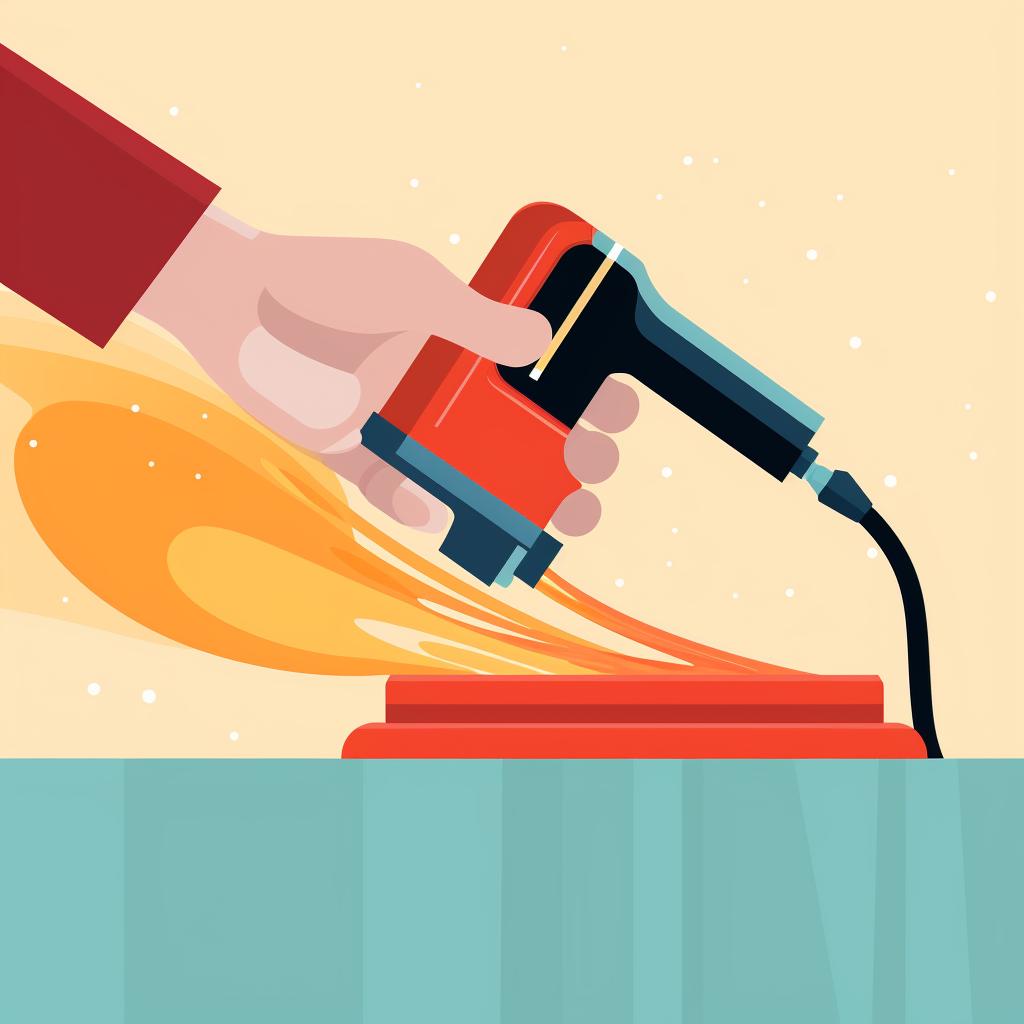
Step 6: Manipulate the Resin
To add even more depth and texture to your resin painting, use a heat gun to manipulate the resin. The heat gun allows you to move the resin around the canvas, creating beautiful swirls and patterns. Additionally, it helps to pop any bubbles that may have formed during the pouring process. Take your time and enjoy the process of creating unique textures and effects.
Step 7: Let it Cure
Once you're satisfied with your design, it's time to let your resin painting cure. Place it in a dust-free environment and let it cure for at least 24 hours. During this time, the resin will harden and become glossy, vibrant, and ready to display. Patience is key here, as rushing the curing process can affect the final result.
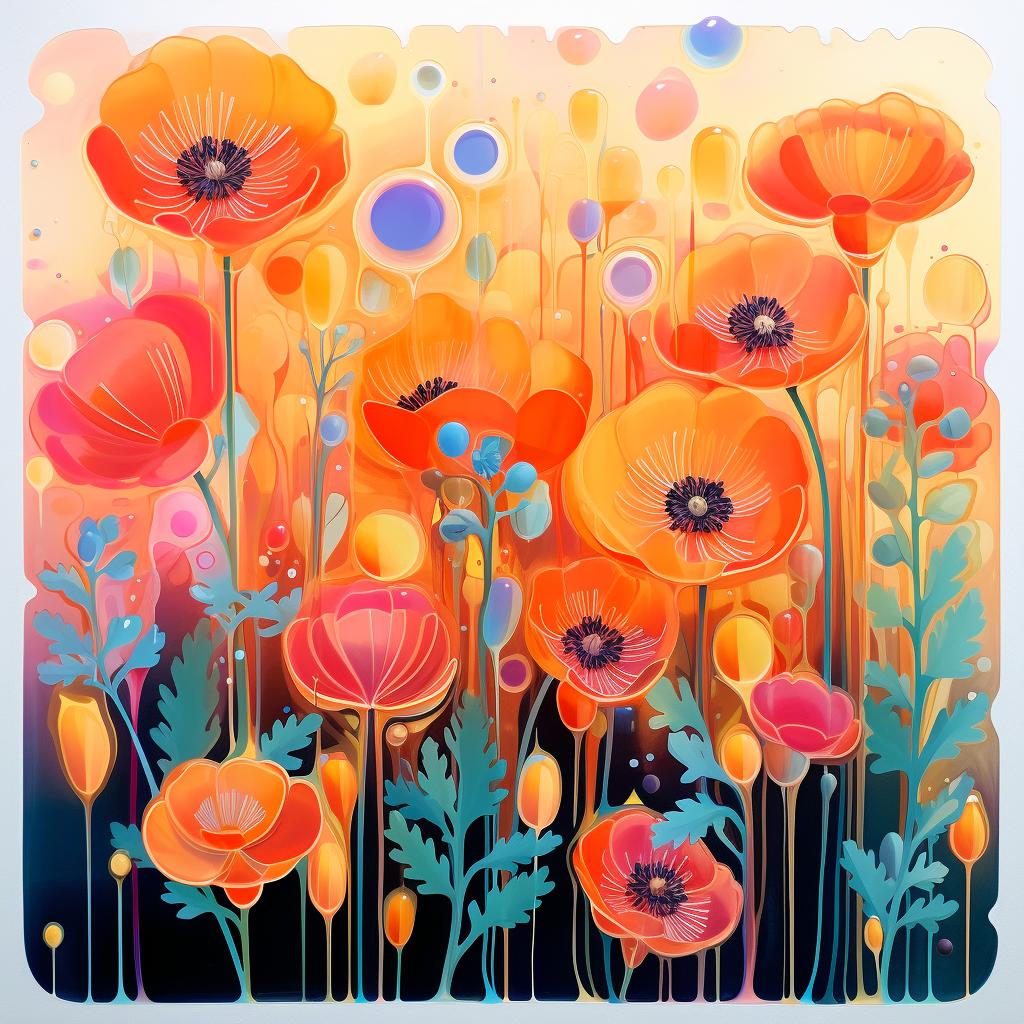
Now that you've completed your first resin painting, you can proudly display it and admire your artistic skills. Remember, resin art is all about experimentation and embracing the unexpected. Don't be afraid to try new techniques and push the boundaries of your creativity. With each painting, you'll refine your skills and create unique pieces that reflect your artistic vision. So, go ahead, unleash your inner artist, and enjoy the wonderful world of resin painting!
All Rights Reserved © 2025