Learn more
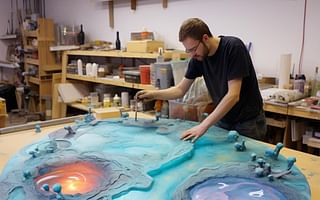


Unleashing your creativity with resin art begins with mastering the art of mold preparation. A well-prepared mold is the foundation of a successful resin piece, whether it's a stunning epoxy resin table, a charming piece of resin jewelry, or a unique resin creation.
Understanding how to clean, apply mold release spray, ensure even coverage, and let the mold dry properly, as detailed in the guide above, is crucial. But what happens next? What do you do once your mold is ready and waiting?
Once your mold is prepared, you're ready to pour the resin. This might sound simple, but there's an art to it. Pouring resin requires a steady hand, a keen eye, and a good understanding of how resin behaves. If you're new to this, our guide on how to make a resin cast from a mold will be a valuable resource.
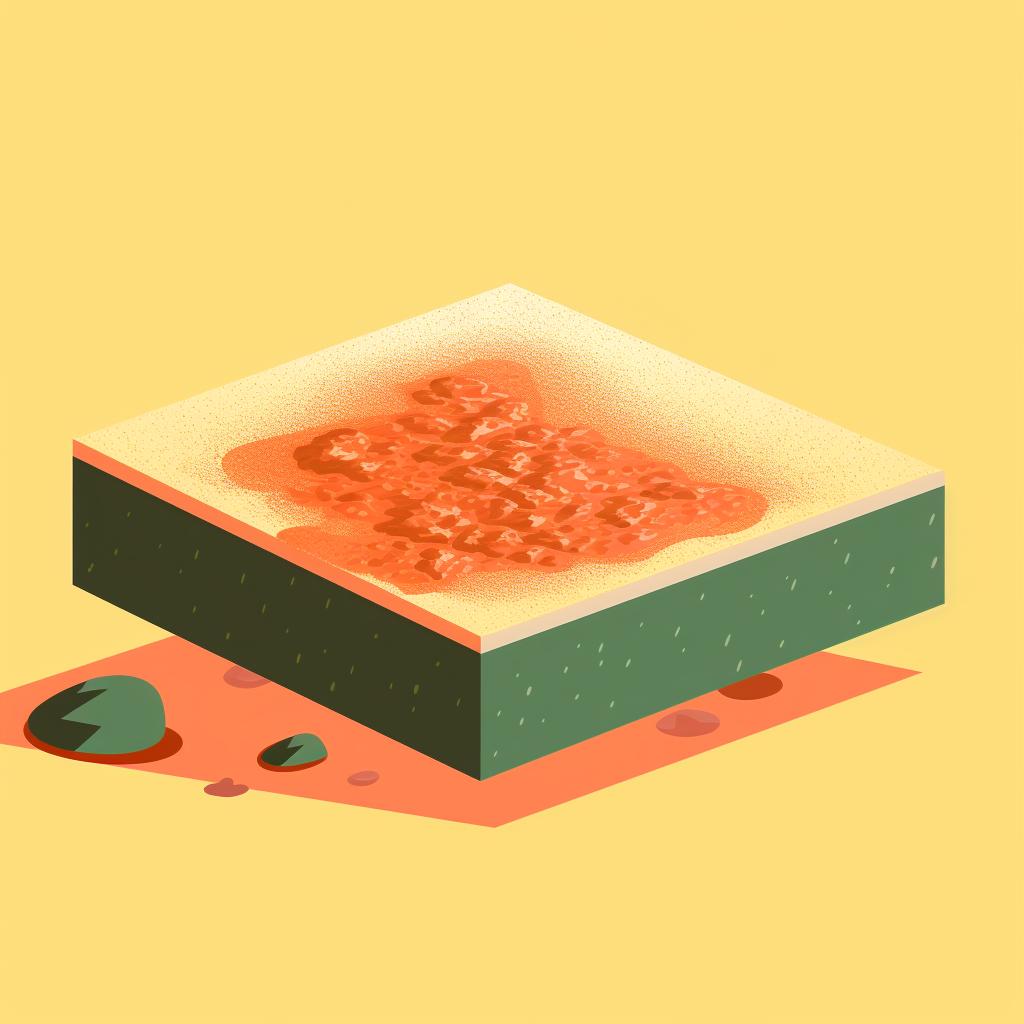
After pouring, the resin needs to cure. This process, which involves the resin hardening and taking on its final form, can take anywhere from a few hours to a few days, depending on the type of resin you're using and the size of your piece. Patience is key here, as rushing the curing process can result in a flawed final product.
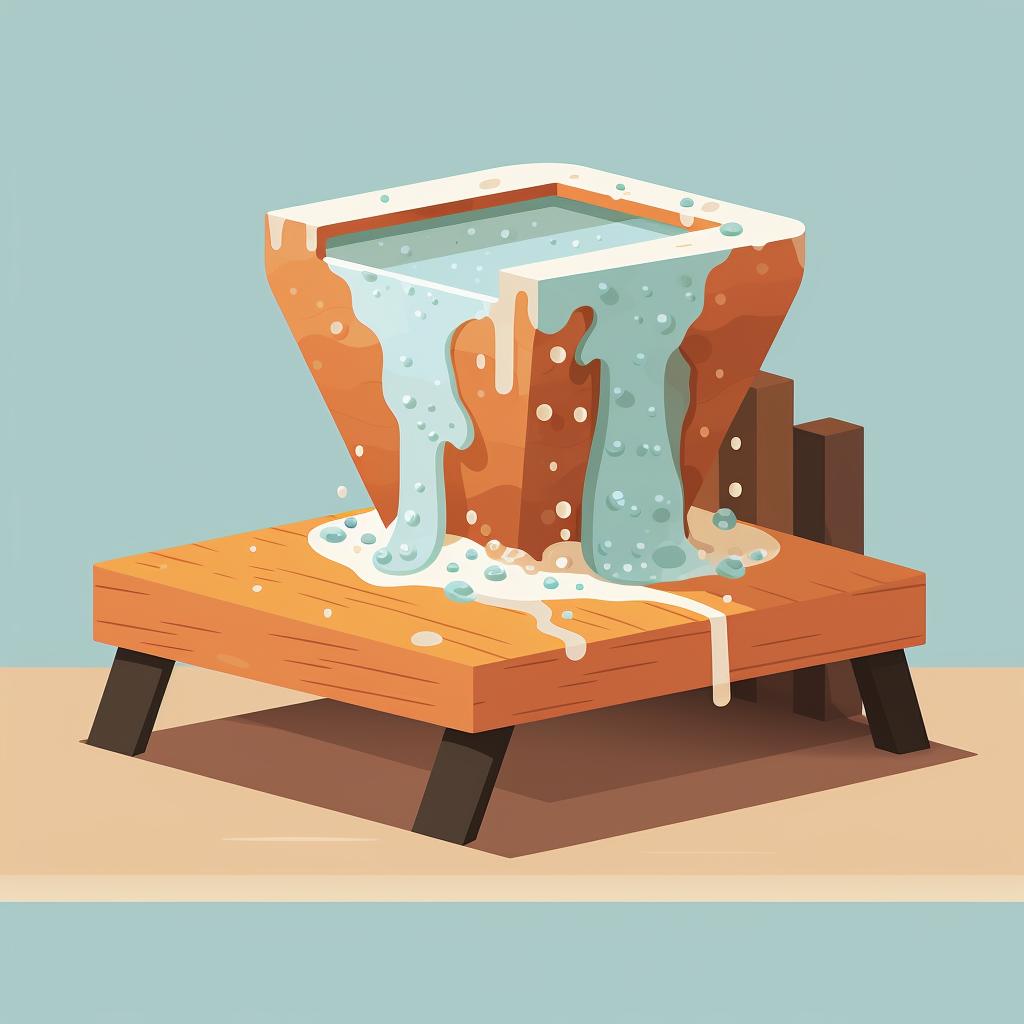
Once the resin has fully cured, your piece is ready to be removed from the mold. This is a delicate process that requires care and precision. If you've applied your mold release spray correctly and ensured even coverage, your piece should come out of the mold smoothly and easily.
With your piece out of the mold, you're ready for the final steps: sanding and polishing. These finishing touches can make all the difference, transforming your resin piece from a rough cast into a polished work of art. For tips on how to perfect these final steps, check out our guide to resin finishing techniques.
Resin art is a journey, and like any journey, it begins with a single step. In this case, that step is preparing your mold. Master this, and you're well on your way to creating beautiful resin pieces.
All Rights Reserved © 2025


