Style Resin Comprehensive Guides on Resin Art and Crafts

🎨 Creating Your First Masterpiece: A Step-by-Step Resin Art Guide 🌟

Learn how to create stunning resin art with this step-by-step guide. Gather your materials, prepare your workspace, mix the resin and hardener, add pigments or dyes, pour the resin, remove bubbles, let it cure, and unmold and finish your artwork.

Creating Your First Masterpiece: A Step-by-Step Resin Art Guide

A table with resin, hardener, mixing cups, stir sticks, gloves, and a silicone mold.
Step 1: Gather Your Materials
Start by gathering all the necessary materials. This includes your resin, hardener, mixing cups, stir sticks, gloves, and your chosen mold or surface. Don't forget to have some pigments or dyes if you want to add color to your resin.
A clean, well-ventilated workspace with a table covered in a protective sheet.
Step 2: Prepare Your Workspace
Make sure your workspace is clean, well-ventilated, and covered with a protective sheet to prevent any spills from damaging the surface. Also, ensure that your work surface is level.
Hands wearing gloves mixing resin and hardener in a mixing cup.
Step 3: Mix the Resin and Hardener
Follow the instructions on your resin package to mix the resin and hardener in the correct ratio. Stir slowly to avoid creating too many bubbles.
Adding a few drops of pigment into the mixed resin.
Step 4: Add Pigments or Dyes
If you want to add color, now is the time to mix in your pigments or dyes. Remember, a little goes a long way!
Pouring colored resin into a silicone mold.
Step 5: Pour the Resin
Slowly pour your resin into your mold or onto your surface. If you're using a mold, don't overfill it. If you're pouring onto a surface, use a spreader or a heat gun to spread the resin evenly.
Using a heat gun to remove bubbles from the poured resin.
Step 6: Remove Bubbles
Use a heat gun or a torch to remove any bubbles that have formed on the surface of the resin. Keep the heat source moving to avoid burning the resin.
Resin artwork left to cure on a flat surface.
Step 7: Let It Cure
Leave your resin to cure for the time recommended on your resin package. Avoid moving or touching it during this time.
Hands holding a completed resin artwork, freshly removed from the mold.
Step 8: Unmold and Finish
Once fully cured, you can remove your artwork from the mold or clean up the edges if it was poured onto a surface. Your first resin artwork is now complete!

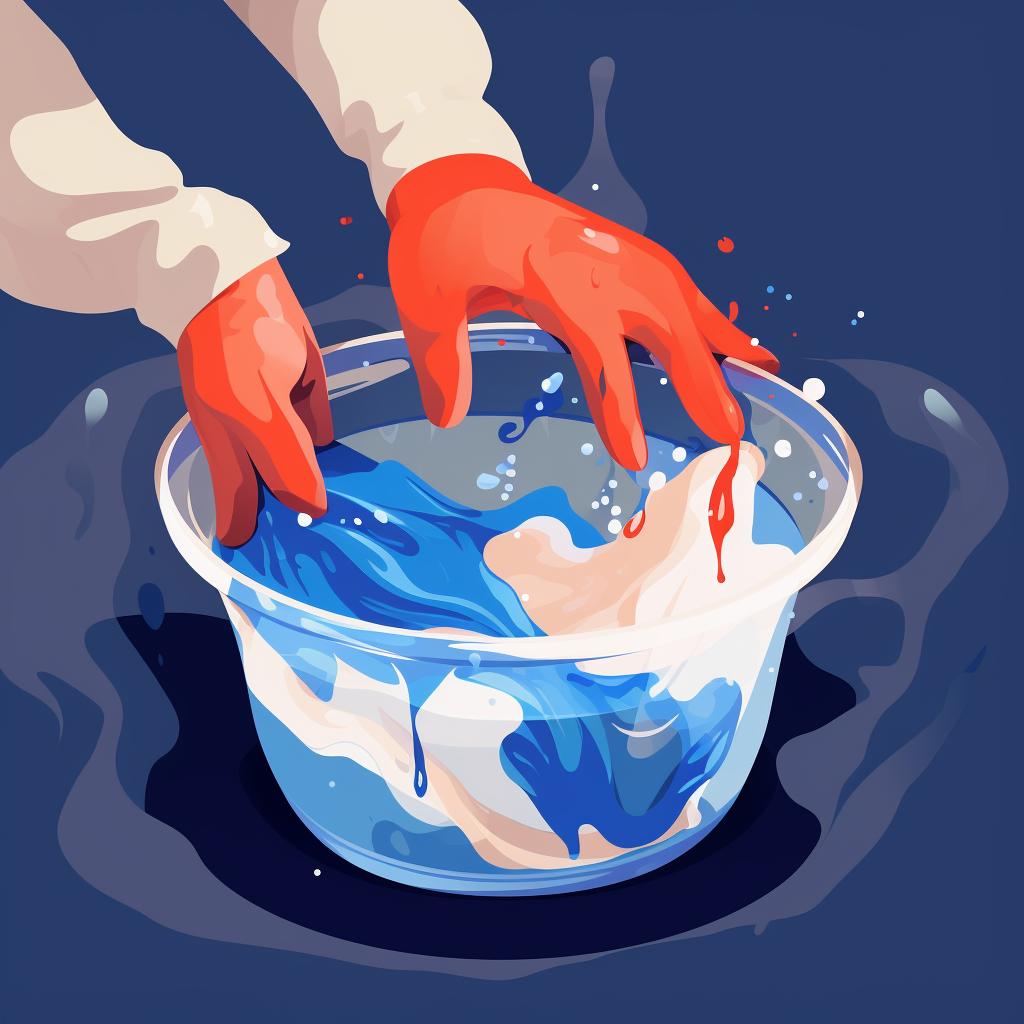
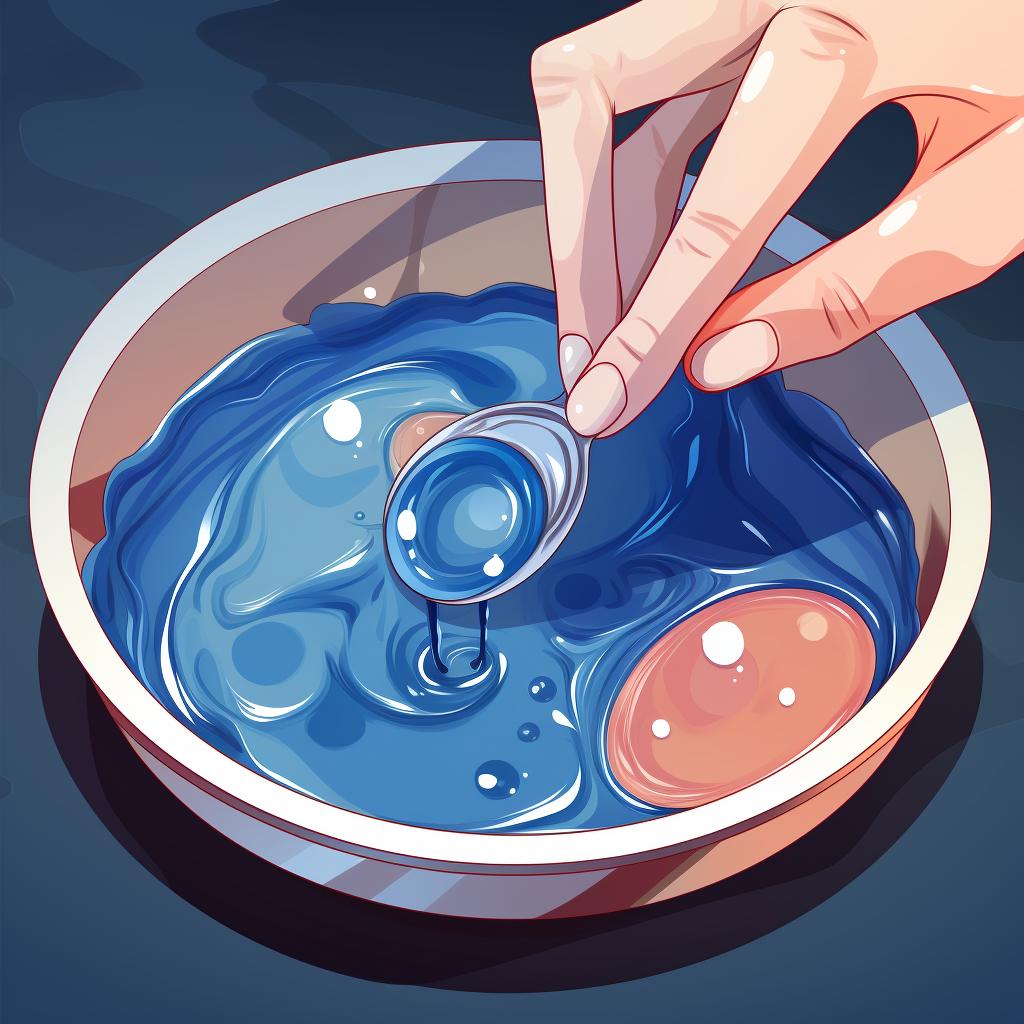
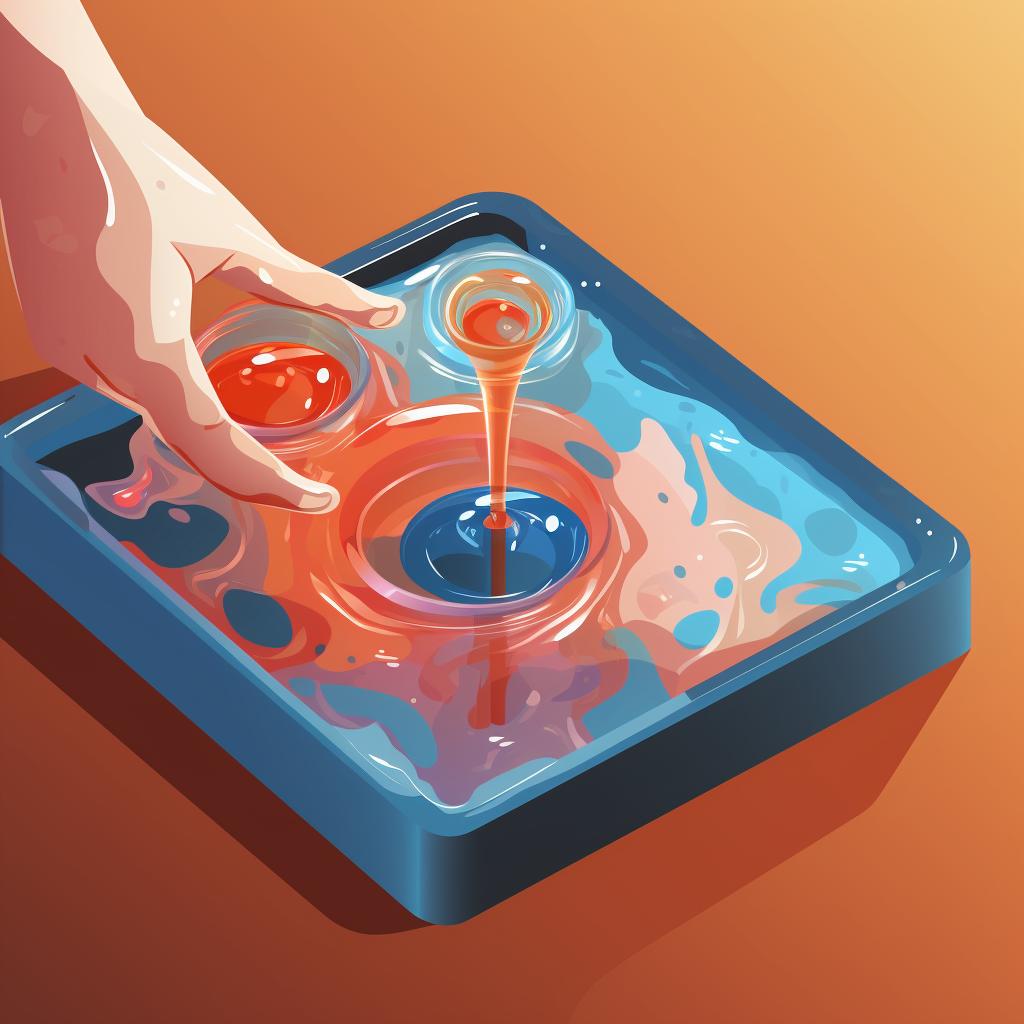
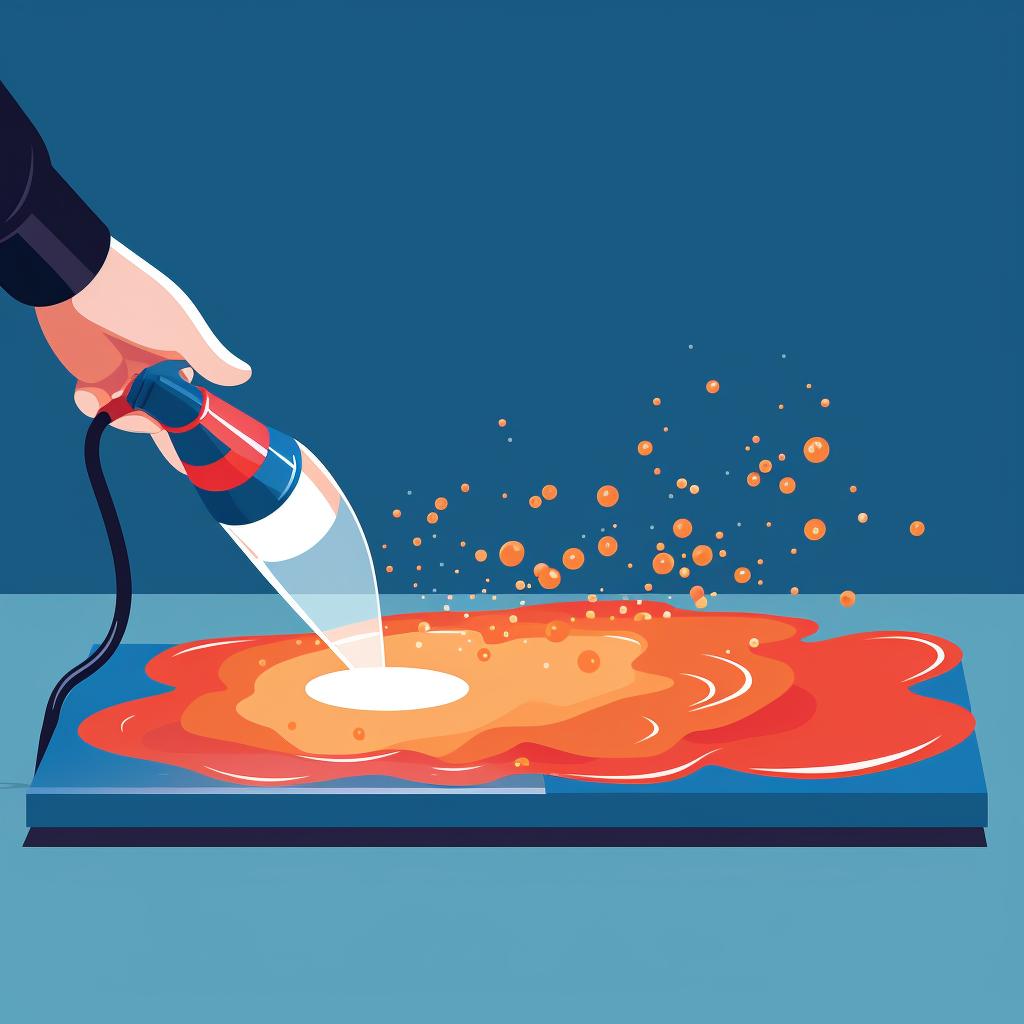
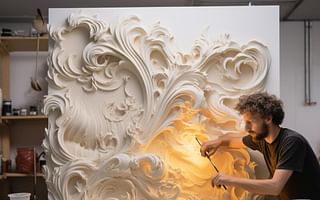
Creating resin art can be a rewarding and exciting journey, especially when you have the right guidance. Our step-by-step guide above provides a comprehensive walkthrough for beginners, detailing each stage of the process. But, of course, the world of resin art doesn't end here. There's a plethora of techniques, styles, and applications to explore, and we're here to help you discover them all.

Resin art is not merely limited to standalone pieces. It can also be incorporated into various crafts and functional items. For instance, have you ever thought about creating your own resin rings? This guide will take you through the process, from choosing the right resin to adding the finishing touches to your unique piece of jewelry.

Another exciting application of resin is in the creation of molds. With epoxy resin molds, you can create a variety of items, from decorative pieces to functional household items. The possibilities are endless, and our comprehensive guide will help you navigate this creative process.

For those looking to take their resin art to the next level, consider exploring the world of epoxy resin tables. These stunning pieces of furniture are not only functional but also a true testament to the beauty and versatility of resin art.

Whether you're a beginner just starting out or an experienced artist looking to expand your skills, our introduction to resin crafts offers a wealth of information and inspiration. It delves into the basics of resin art, different types of resins, safety tips, and more.

Remember, the journey of creating resin art is as important as the final product. So, take your time, enjoy the process, and don't be afraid to experiment. The world of resin art is waiting for you to make your mark.