Crafting Your Personalized Resin Jewelry Mold ✨
Crafting Your Personalized Resin Jewelry Mold
Creating your own resin jewelry mold is a rewarding and creative process that allows you to design unique pieces that reflect your personal style. With just a few simple steps, you can make a mold that will enable you to replicate your favorite objects in resin. Whether you're a seasoned resin artist or a beginner, this step-by-step guide will walk you through the process.
Step 1: Gather Your Materials
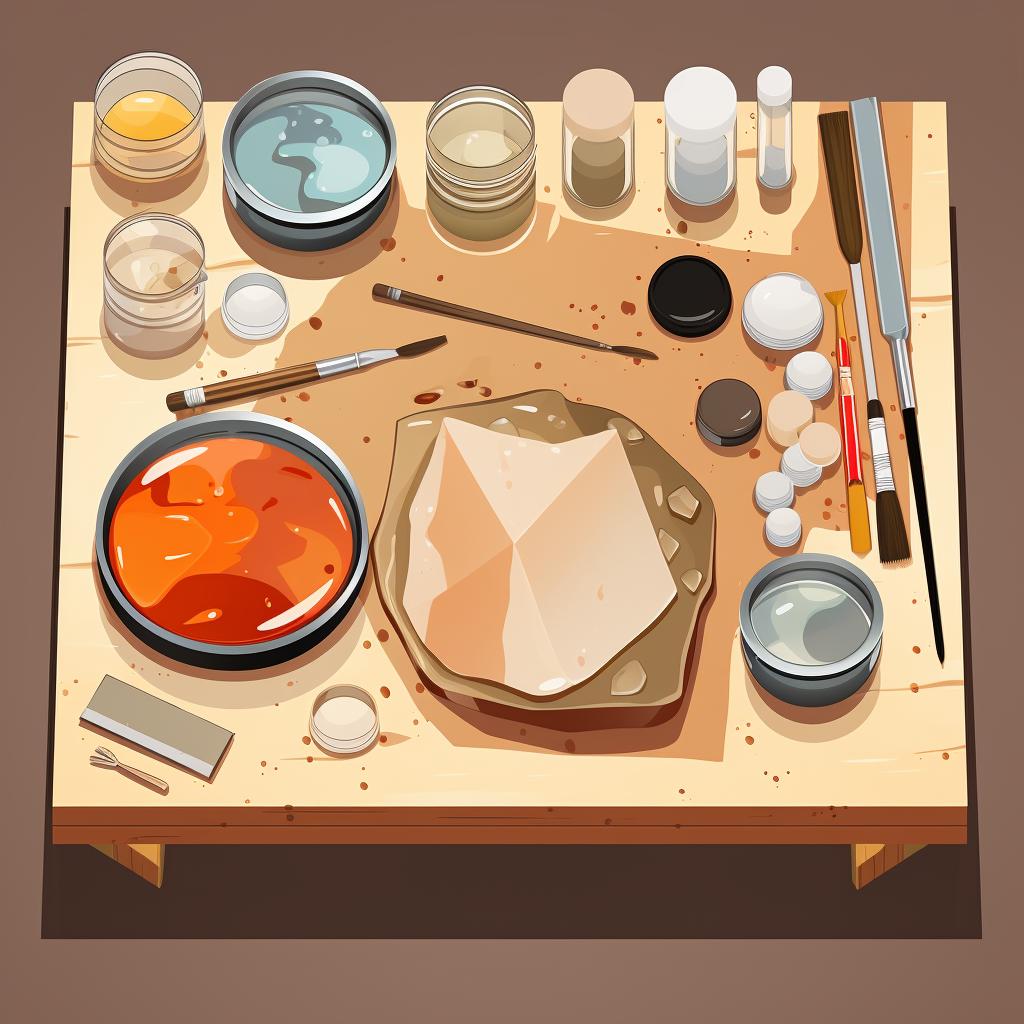
To start, gather all the necessary materials for creating your resin mold. You'll need a molding material such as silicone or clay, a flat work surface, a shaping tool, and the object you want to replicate in resin. It's important to choose a heat-resistant object with a shape that will be easy to remove from the mold.
Step 2: Prepare Your Molding Material
Next, prepare your chosen molding material according to the instructions provided. If you're using silicone, this typically involves mixing two components together until they're fully combined. For clay, you'll need to knead it until it becomes soft and pliable. Take your time to ensure the material is properly prepared for the molding process.
Step 3: Create the Mold
Once your molding material is ready, it's time to create the mold. Press your chosen object into the prepared material, making sure it's deep enough to capture all the details but not so deep that the object gets stuck. Be careful when removing the object from the mold to avoid distorting the shape. This step is crucial for achieving a clean and accurate mold.
Step 4: Let the Mold Cure
After creating the mold, allow it to cure fully. The curing time will vary depending on the type of molding material you're using, so refer to the manufacturer's instructions. It's important not to rush this step, as a fully cured mold will provide the best results. Patience is key when working with resin.
Step 5: Test Your Mold
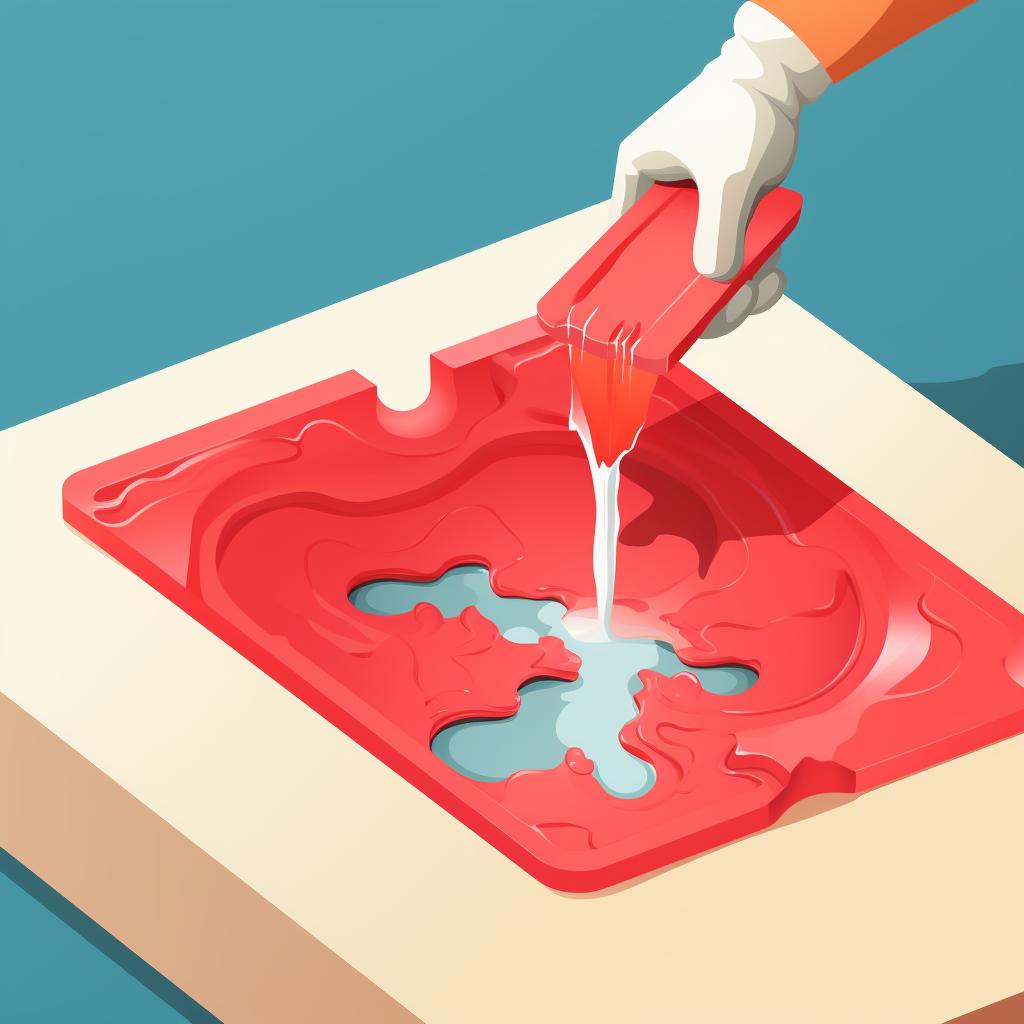
Once the mold is fully cured, it's time to put it to the test. Pour a small amount of resin into the mold and let it cure. Carefully remove the resin from the mold to see if it works well and produces a clean, detailed piece. This step allows you to ensure that your mold is functioning properly before using it for larger resin projects.
By following these steps, you'll be able to create your own personalized resin jewelry mold. Remember to take your time, follow the instructions, and enjoy the creative process. With practice, you'll become more skilled at making molds and be able to create stunning resin jewelry pieces that showcase your unique style. Happy crafting!


